12.11.2013

Painting with.....Sharpies?

Hi there! Ok, so it's been a year and some change since I last posted anything but I'm determined to get back on track. To start: filling frames with words. I've had a barren wall above my couch since I moved back in February (whoops!). A combination of laziness and lack of ideas is the reason the most creative thing on my walls is paint that came with the apartment.  Anyway, I came across a little quote a few weeks ago on tumblr that inspired me to do this project (I literally went and bought frames the same day). Let's begin...

First off, supplies:
Sharpie
Paint color of choice
Brushes
Scissors
A flat edge (preferably a clear ruler similar to below for accurate placement of letters)
Some type of material to paint/draw on (maybe even use the back of what is already in the frame)
iPhone not needed 
Start by taping down some random paper underneath to prevent any paint from getting on the table/surface area


Covered desired area in your paint color


Ok, now that you've got the general area painted, use the cardboard (or whatever) that comes in the frame to get an accurate size needed to fit the frame


Once you have your outline, you're going to start making gridlines (finding the middle, making all the letters the same size, correct spacing, etc)


Depending on your phrase you want to use, your gridlines should end of looking a little something like this


Now, start sketching by hand and with pencil your phrase/quote. I searched online for different styles of font to get an idea of what I wanted the letters to look like.


Ever so carefully and with a light hand, start going over top of your sketching with permanent marker


Once you've completed it to your satisfaction, cut along the borderlines line you made in the beginning


Place in frame


Voila! 


Now, follow the same steps for different phrases or quotes that you like or live by and you're on your way to an ΓΌber personalize collage. I used different fonts and frames to get a more eclectic vibe but I don't see why using the same frames, same fonts, same sizes, different sizes, etc would make it any less awesome.


But most importantly, have fun and take your time!!


P.S. I plan to add on to this later on so stay tuned :)

9.28.2012

OOTD: All About The Details

Happy Friday!

Denim: Rag and Bone (similar here) | Blouse: J. Crew

Bracelets: Madewell, Jade bracelet is from China (Gift from my mother!) | Watch: Michael Kors | Knuckle Ring: Etsy

You know I'm a big fan of the half tuck. It adds a cool, relaxed look to any outfit.

Shoes: Random find at Nordstrom Rack

I like rolling my jeans with ankle boots, gives the outfit a cute touch.

Clutch: Cynthia Vincent (I've been getting a lot of use out of this bag)

Necklace: Madewell (old)

Well, I'm off to a meeting then flying out to Nashville for my cousin's birthday. Can't wait!

Enjoy your weekend!


9.24.2012

Photo Collage

I love hanging photos in my room. It makes your place feel much more homey and personal. The best way to do so, is by hanging your favorite pictures in fun frames and arranging them in a collage on open walls throughout your home.

Items Needed:
Photos of your choice
These awesome Command strips

They really do leave your wall undamaged and they're a much better alternative to nails

I would first arranged your photo collage on the floor. That way you can play around and get the best formation for your space. Also, use different color and style of frames for a more interesting and eclectic vibe.

**Note: I used black and white photos so no colors would compete or clash with the frames.

Open the Command strips and press two strips together as explained in the directions on the box


Peel the backing off one side of the strips and place on the back and top of each frame


Start by placing the middle frame first and work outward


Voila!


Hope I've inspired your next photo collage!


Until next time....

9.14.2012

Skirt How-Not-To

Maybe it's just me, but lately I've been seeing a lot of girls wearing skirts on their hips and tucking in their shirt. I'm here to let you know that you're not doing any favors for yourself. It makes your waist nonexistent and throws your proportions completely off.

How Not To:


How To:

Tank: J. Crew | Skirt: J. Crew Outlet | Sandals: Madewell (similar here) | Bracelet: Madewell

Just by bringing up your skirt a couple inches, you've given yourself a waist and way more flattering look!

Potential concerns/questions:
  • If you pull up your skirt and you think it's too short.....it probably is, so don't wear it or buy it
  • If the skirt you have, or are possibly purchasing, is too big to fit around your true waist.....you need to go down a size


Now, if you have skirts that are too short if worn at your waist or too big in the waist and don't want to give up this item, I suggest pairing it with a slightly boxy top that cuts higher in the front than in the back. You can also pair with a chunky sweater, like in previous post once it starts to get cool.


Tank: Madewell | Skirt: J. Crew Outlet | Sandals: Madewell (similar here)| Bracelet: Madewell


Hope this helps and hopefully you all agree with me!

Have an awesome weekend!

9.12.2012

Now & Then: Printed Pants

Now that we're starting the transition into Fall I thought it would be fun to show how to pull a Summer piece though the Fall. I recently got these awesome pants and can't wait to wear them out now and dress them down this Fall.


NOW:

Pants: SW3 | Tank: Vince
Bangle: Adia Kibur | Necklace: House of Harlow
Bag: Cynthia Vincent
Shoes: Pelle Moda
Pairing the pants with a loose, black tank and wedges makes it great for a night out while it's still warm!


THEN:

Sweater: Vince | Shoes: Cole Haan

I love the pants with this amazing chunky sweater I got last year. It makes the pants more casual and great for the Fall!


Until next time....


9.11.2012

Jewelry 101

It's time for another jewelry session. Today I will be showing you how to make a simple woven bracelet with beads. It's actually pretty easy!

What you'll need:
Thin twine or string
Scissors
Tape
Lighter or Super Glue


1. Cut two pieces of twine/string that are around 2' long and another two pieces about 1' long, secure with tape with the long pieces on the outside

 2. Cross the left thread over top of the middle threads

3. Place the right thread over top of the left thread and under the two threads in the middle, pulling it through the loop on the left side

4. Pull on left and right thread to secure the knot

5. Repeat those steps starting on the right side this time (alternating sides will keep the knots straight and flat)


6. Do this knot 8 times (4 on each side)


7. Place middle threads through a bead

8. Loop two knots between every bead

9. Once you're done placing the beads on, perform the knot another 8 times (4 on each side)

**The number of beads you use will depend on how large you want the bracelet to be and how large, in diameter, the beads are. I used 14 beads, 8mm in diameter.


10. Bring the middle threads from the top and bottom part of the bracelet, meshing them together

Secure with tape


11. Perform the knot as previously shown (24 times, 12 on each side)

12. Cut the extra thread near the knots and pull on the middle threads, closing the bracelet

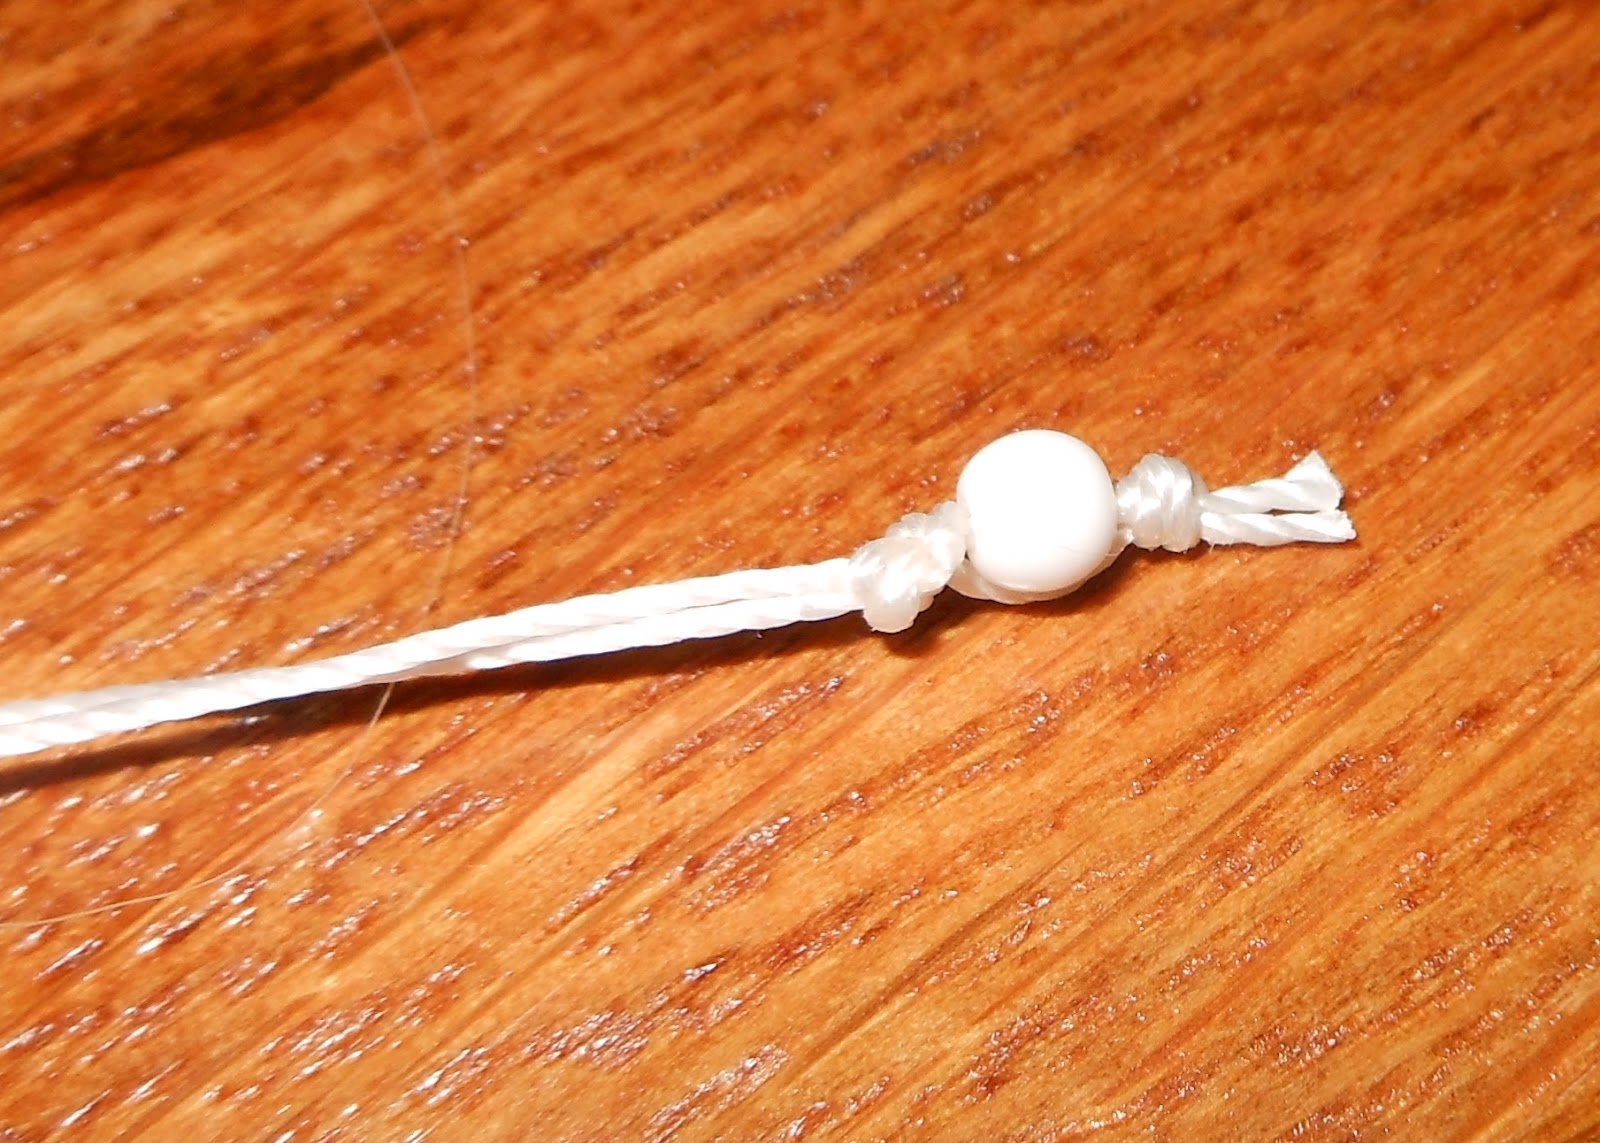
13: Tie a general knot on each middle thread, place thread through a small bead and tie another knot on top of the small bead (this is a nice decorative touch)

14. Use a lighter to burn the extra threads on the end of the knots. This will prevent the knot from coming out (you can also use a super glue as I explained in a previous post) 

And you're done!

Stack them!


It might take a little bit of time to get everything down but you'll quickly get the hang of it! 


Until next time.....